How To Install Grafana Server Using Script on Ubuntu 18.04
In this tutorial how to install Grafana server using script on Ubuntu 18.04 server. This is very easy step for installation process.
★ Download Rocket Chat Backup Script
★ Download Restore Rocket Chat Database Script
My server info:
#############################################
IP Address 	: 10.66.100.30	//Grafana server
OS 		: Ubuntu 18.04
RAM 		: 2GB
vCPU 		: 2
Disk 		: 50 GB
Service 	: Grafana
Version		: 8.0.2
#############################################
Step #01: Check my server ip and version using below command.
lsb_release -a && ip r
Output as like below.
No LSB modules are available.
Distributor ID: Ubuntu
Description:    Ubuntu 18.04.5 LTS
Release:        18.04
Codename:       bionic
default via 10.66.100.10 dev enp0s3 proto static
10.66.0.0/16 dev enp0s3 proto kernel scope link src 10.66.100.30
Download script from my script portal.
wget https://script.technologyrss.com/linux/grafana/install-grafana.sh
Setup executable permission.
chmod 755 install-grafana.sh
Then run script file using below command.
./install-grafana.sh
or
You can run without execute permission.
bash install-grafana.sh
Then wait up to 2-5 minute.
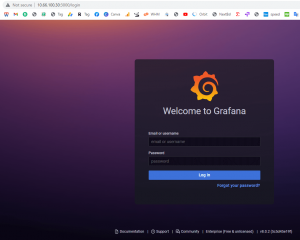
Access your server ip address and login admin user using default password.
Access details:
Access URL 	: http://10.66.100.30:3000/
User Name	: admin
Password	: admin
Then run script file using below command.
Step #02: Access URL admin change admin password.

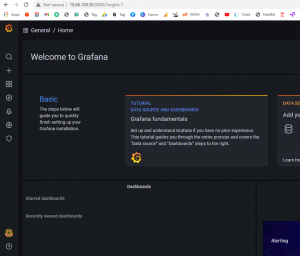
Then login and see dashboard as like below.

If see any error so please see my YouTube video. Don’t forget subscribe my channel.


Very interesting subject, regards for putting up.
Thank you